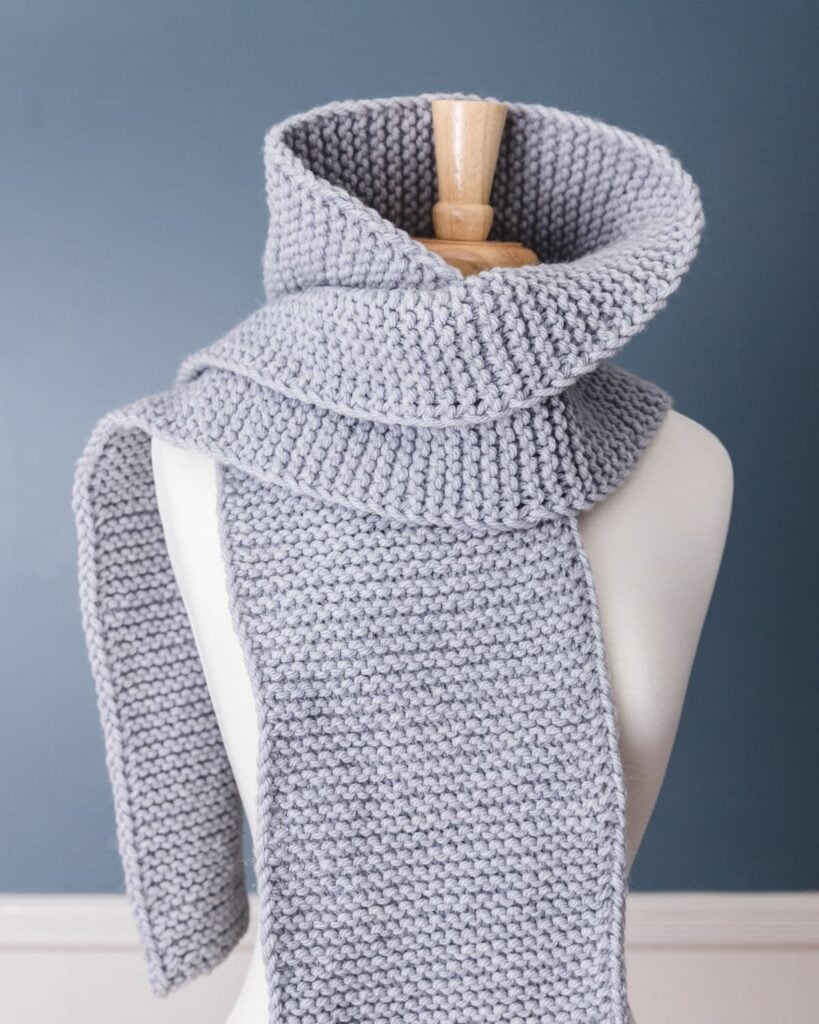
Knitting is a timeless craft that allows you to create beautiful and cozy accessories, and one of the most popular beginner-friendly projects is knitting a scarf. Whether you’re new to knitting or looking to refresh your skills, this step-by-step guide will walk you through the process of knitting a scarf from start to finish. With some yarn, knitting needles, and a bit of patience, you’ll be able to wrap yourself or your loved ones in a warm and stylish handmade scarf.
Step 1: Gather Your Materials
To knit a scarf, you’ll need a few basic materials:
Yarn: Choose a soft and chunky yarn in a color and texture that you love. Worsted weight or bulky yarn is ideal for scarves.
Knitting Needles: Select a pair of knitting needles that are appropriate for your chosen yarn. Look for needles labeled with the recommended size for your yarn.
Scissors: You’ll need a pair of scissors to cut the yarn.
Tapestry Needle: This needle is used for weaving in loose ends and finishing touches.
Step 2: Learn the Basic Knitting Stitches
Before you start knitting your scarf, familiarize yourself with the basic knitting stitches:
Cast On: This is the foundation row of your knitting. There are different methods for casting on, such as the long-tail cast on or the knit cast on.
Knit Stitch: The knit stitch creates a smooth and textured surface. It involves inserting the needle into the stitch, wrapping the yarn around the needle, and pulling the yarn through to form a new stitch.
Purl Stitch: The purl stitch creates a bumpy texture. It is the reverse of the knit stitch and is achieved by inserting the needle from right to left, wrapping the yarn under the needle, and pulling it through the stitch.
Bind Off: This technique is used to finish your knitting and create a neat edge. It involves knitting two stitches, then passing the first stitch over the second to bind off and secure the edge.
Step 3: Cast On and Begin Knitting
Start by casting on the desired number of stitches. This will determine the width of your scarf. Aim for a width of around 6-8 inches, depending on your preference. Once you’ve cast on, begin knitting rows using either the knit stitch, the purl stitch, or a combination of both to create different stitch patterns.
Step 4: Knit to Your Desired Length
Continue knitting rows until your scarf reaches the desired length. You can create a simple garter stitch by knitting every row, or you can experiment with different stitch patterns like ribbing or seed stitch for added texture and interest. Keep in mind that scarves are typically around 60-80 inches long, but you can adjust the length based on your preference.
Step 5: Bind Off and Finish
Once you’ve reached your desired length, it’s time to bind off and finish your scarf. Knit the first two stitches, then use your tapestry needle to pass the first stitch over the second, leaving one stitch on the needle. Knit one more stitch, then pass the first stitch over again. Repeat this process until you have one stitch remaining. Cut the yarn, leaving a tail, and pull it through the last stitch to secure it. Weave in any loose ends using the tapestry needle.
Step 6: Optional Finishing Touches
You can add some personal touches to your scarf by adding fringe or tassels to the ends. Cut strands of yarn and attach them to the cast-on or bind-off edges using a crochet hook or by threading them through the stitches.
Knitting a scarf is a satisfying and rewarding project that allows you to showcase your creativity while keeping yourself or someone else warm and stylish. By following these steps and practicing the basic knitting stitches, you’ll be able to create a handmade scarf that reflects your personal style and becomes a cherished accessory for many winters to come. Grab your knitting needles, choose your favorite yarn, and enjoy the soothing process of knitting your very own scarf.
